As I announced in my previous post, I'm making an effort to eat more locally this month. I love one-month challenges like this because they push me to try new things that I keep putting off. For instance, I've wanted to make my own soy milk (and tofu) for the longest time, but I just never got round to it cuz I could buy it so easily. But ever since I began this 'Locavore' challenge, I haven't bought any commercial soy milk as they almost all use imported beans. Rather than giving up soy milk altogether and resort to eating watery oatmeal, I figured this was my opportunity to just do it and make my own. Every once in a while you need an official challenge to give you a little kick-in-the-butt.^^
So I did a bunch of online searching to learn how to make soy milk. Turns out, it's pretty darn simple! Ofcourse, some recipes are more complex than others, but the basics are generally the same: soak beans, blend beans with water, strain pulp, boil the remaining soy milk, add flavorings, let cool. Done. Easy peasy.
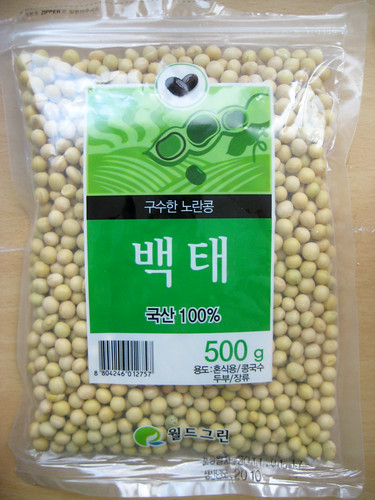
Oh wait, first thing's first: buy soy beans. Domestic ofcourse. :) Organic would be better, but these are not.
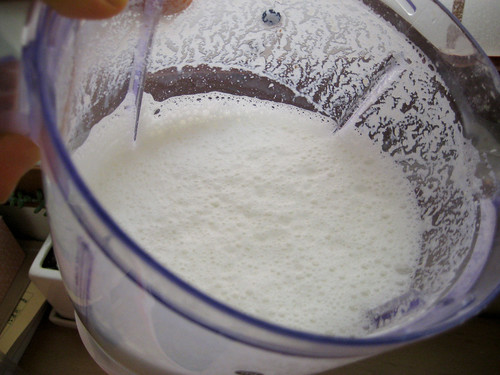
To start the process, I soaked about a cup of dry soy beans in plenty of water overnight. Then the next morning, I rubbed them in-between my hands a bit just to get some of the skins off. I think this is an optional step and I wasn't anal about getting every skin off... Then after rinsing, I put 1 cup of soaked soy beans in a blender with about 3-4 cups of water and gave them a good whizz until very smooth.
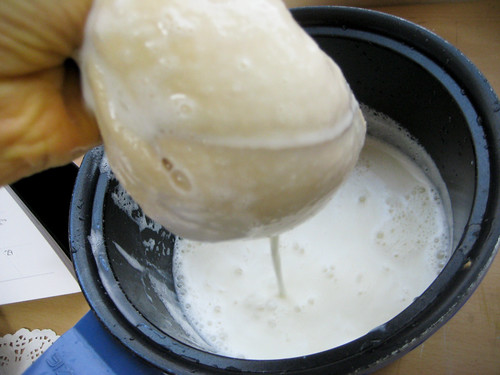
Next, I squeezed the blended soy beans through a cheese cloth bag, using a pot to catch the liquid underneath.
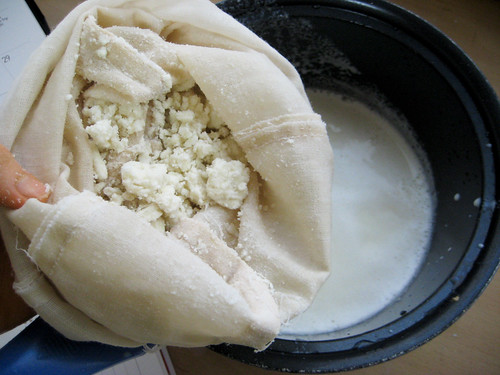
Leftover okara (비지 "biji"), to be saved for later use!
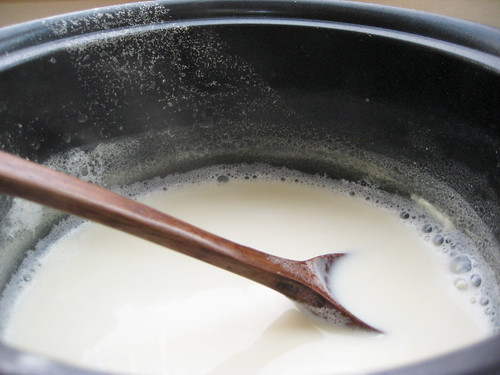
Then I boiled the raw soy milk over a medium-low flame for about 10-15 minutes, while stirring every once in a while and keeping an eye on it to make sure it didn't bubble up and boil over. I scooped off some of the frothy gunk and skin that formed on the top, but it wasn't a lot. At this point, I added some sugar (1 Tbs) and vanilla extract for flavoring. I also thinned the soy milk out a little by adding some more water (you can adjust to your preferences).
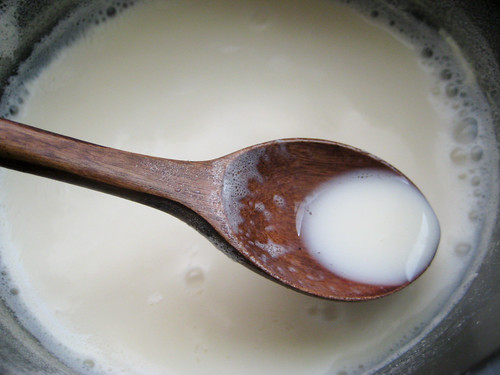
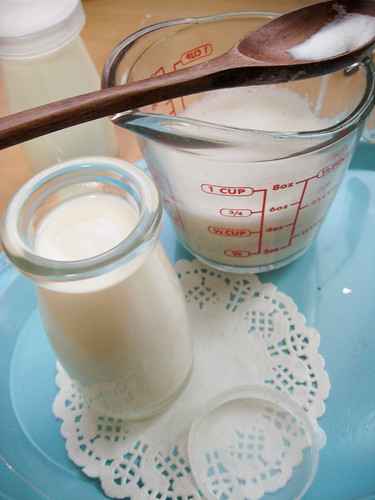
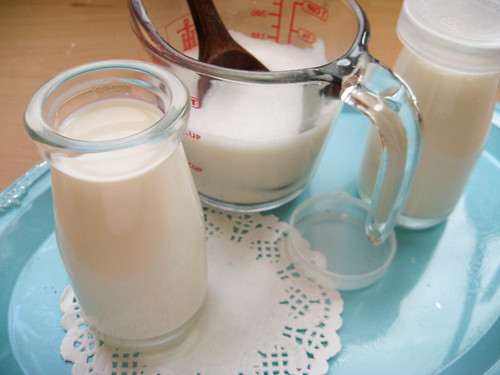
All done!
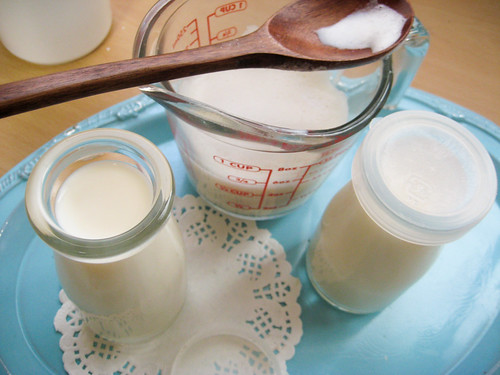
Once the milk had cooled somewhat in the pot, I poured it into glass jars/containers to store in the fridge. Apparently homemade soy milk will only keep for about 2-3 days, so I only made a small batch. With 1 cup of soaked soy beans, I got about 3.5 cups of soy milk.

To test my freshly-made soy milk, I poured myself a mug of sweet hot chocolate. I even got out my milk frother (which I hardly ever use), and whipped up some bubbly froth to spoon on top! I've tried getting bubbles like this with regular store-bought soy milk, but it's never worked for me. But with my homemade version, I got this amazing light and fluffy froth.

"It's so fluffy, I'm gonna die!"
The taste is a bit 'beanier' than store-bought soy milk, but it's not bad at all. It's more noticeable when I use it in milder drinks such as with my English breakfast tea, but I can't tell any difference when it goes in oatmeal or muffins.

Oh, and I plan on using the okara (soy bean pulp) to make something delicious like okara burgers or biji jjigae! Seriously, thou shalt not waste any part of the bean.